Friday, March 18, 2011

The Light of Morning Curls Forth


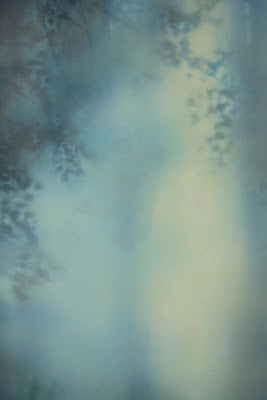
Left: 'forest spirit'. Right: ' the light of morning curls forth'. Total size: 43.5 x 72

Two paintings recently completed from the series of birch trees enveloped in fog. Rather than a direct representation of what the camera sees, this series is an impression of my memories of the colors and atmosphere on my late summer barge trip through the canals of France. None of the actual photos captured the spirit of the experience. Through photo manipulation, wax and paint, I more accurately portray the view that I saw in my minds eye.

Although this was created as two individual paintings, I liked the way the two work together as a single diptych. I really love the blue tones, and I'm hoping Seattle has a heat wave during my show to encourage collectors to purchase more cooling images.

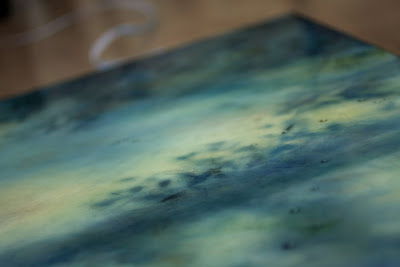
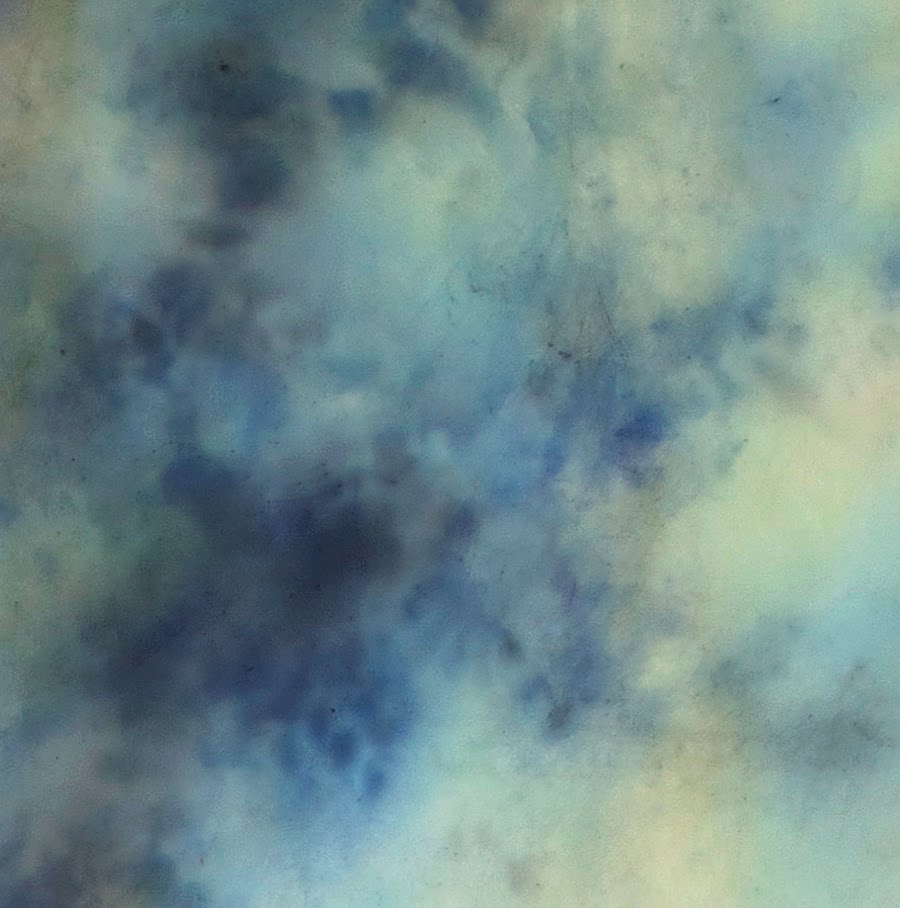
Detail from ''ight of morning curls forth'

Monday, March 7, 2011

Giggles of Delight

"giggles of delight" 36 x 63

I'm stunned at how long it's been since I've posted to my blog site. My excuse is a good one, as I've been holed up in the studio finalizing the work for the April show at Patricia Rovzar Gallery. There are 17 paintings completed, and I'm working on four additional panels which may join the show if they look like a good fit.

"Giggles of Delight"
is one of the larger pieces for the show next month. I love the movement in this piece. The wild grasses really seem to be dancing as little seeds twirl off the stems. The naming of this was a serendipitous moment. As I completed the painting, a friend posted a photo on her Facebook page of her daughter in absolute glee, the description included the words "giggles of delight". Makes me happy just to type those words here.

I'll share more sneak peeks during these final weeks of prep.

above: details from "giggles of delight"

Tuesday, January 25, 2011

Winter Blues


The past few weeks we have been inundated with low clouds and fog, creating the most beautiful blue sky at sunset. It was impossible to capture the color with my digital camera, but I was determined to try to emulate that unbelievable blue.


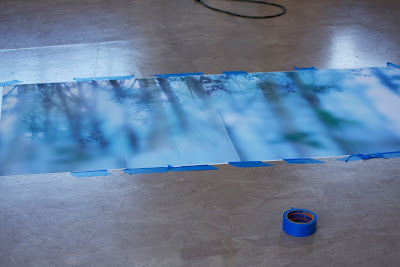
I pulled some images of the birch groves along the canals of France from my barge trip last September, threw them into Photoshop and went to work. The final images are a composite of multiple photographs, spliced and layered with varying levels of blur and opacity. All the layers are adjusted with major amounts of color alterations from the original. This work took weeks of manipulation to produce.


Satisfied with the results on my computer screen, I printed the images digitally onto 100 % cotton watercolor paper with archival inks. The images are spliced together and mounted to hollow core doors.

I am using more base layers of wax than in my previous work. These panels have up to 15-layers of clear wax medium, interspersed with a few layers of transparent white. Then finished with glazes of oil paint burned into the surface.


I just love the results. Mysterious, soft and gentle. I have one complete, one on the table, and hopefully two more will be ready for the show in April.

The result is so close to my memory of that winter color over the Puget Sound.

Thursday, January 13, 2011

Trying to Keep Pace

the studio, January 2011

I'm always trying to catch up.

I have an abundance of imagery and words in my minds eye. I feel an overwhelming sense of urgency to get them all out of my head and onto the canvas quickly, before they disappear from memory. But there are too many visions, and I can't physically work that fast. So I have to make choices. And some ideas may never see light. Because by the time I've completed the first bunch, my mind has already moved beyond where I was before. Maybe if I didn't have such an abundance of pictures in my head, I would be able to produce more. But I don't think I'd like that trade-off.

So, I'd better just show up every day. Get as much out of my system that I can.

Saturday, January 8, 2011

Commission Complete

"One Sunlit Morning" photoencaustic and oil, triptych. 30" x 104" x 2"

The paintings are complete and will be delivered next week. I call the triptych "One Sunlit Morning". It will be hung in the waiting lobby of a beautiful new hospital here in Washington state.

The next two months will now be devoted to preparing for my solo show in April at Patricia Rovzar Gallery. I actually have enough work completed already, but I feel that I'm missing some variety in scale, subject and color. Send good thoughts for productive studio work!

Wednesday, December 15, 2010

Repairing a Scar

It seems that some lessons I'm destined to learn over and over and over. In my excitement to begin work, I was not careful with blending the seams. The photo below shows a detail of an area where the seam is most apparent.


Because the painting consists primarily of transparent yellow, it is almost impossible to completely cover the offending scar with paint and clear wax alone. I painted a semi-opaque white wax, mixed with a tiny bit of yellow, over the seam. But I also had to add the wax over other areas of the painting, so that the resulting texture would be more unified.

I call this the ugly stage. It takes me a few days to actually build up the courage to attack the painting in this way. After applying the patch, I scraped it to a smoother consistency, and then started re-building the painting.


This detail of the area now has four or more layers of oil paint rubbed, painted and burned into the surface. You can see where the underlying wax was added, because the area is more textural, but I think it is richer and more complex than the original. It's a time-consuming approach which requires a lot of patience and trust. Check back later to see how the patch integrates with the rest of the painting.

Tuesday, November 30, 2010

Prep, Process and Problem Solving

our garage workshop with all three cut panels glued, sanded and ready to go.

The doors arrived to my supplier the day before thanksgiving. A huge sigh of relief. Next step was to cut them down to size, and fill and sand the exposed ends (picture below).

this is what the doors look like when cut open.
the wood filler needed to be stripped to the correct thickness, and cut to size.

Now in the studio, my images are adhered to the panels. Although my canon printer can print up to 50 yards long, it maxes out at 17 inches wide, so I've had to splice the paper sheets together. I'm not sure if it's a result of the cold weather we're having here in Seattle, but the paper seems to be moving as the glue drys on the wood, leaving a small gap along the length of the splice. I've filled the gaps with R&F Encaustic gesso, and then tinted the gesso with guoache to get closer to the correct color.

detail showing the gap in the spliced image

It takes a bit more work to make the line disappear once I start painting, but with enough paint and wax and texture, it all comes together in the end.

The first board is on the waxing table. In this photo, I still need to trim the paper flush to the edges of the panel. And I'd better clean up the work area before I make an even larger mess of things. In the upper right corner of the photo, you can see a smaller scale photoencaustic painting I did as practice for getting the colors right before embarking on the finals.

Check back next week for the next progress report.

Tuesday, November 23, 2010

Daffodils and Snow in Seattle

It's freezing here in the studio, so working on bright, sunny daffodils bring memories of warmer and more colorful days. The image above is the approved concept thumbnail for a triptych commissioned for a new hospital here in Washington state. The three panels will total 30" tall x 104" wide. Delivery is mid-January.

The client requested deeper panels than the standard 1.25 inch hollow core doors that I typically use for my work. As soon as I received written authorization to proceed with the project, I placed a special order for 1.75" hollow core birch slabs with my supplier, Millwork Supply, in Seattle. Estimated delivery is 4-weeks. The doors come from Canada (I think). It's been over 6-weeks out now, and still no doors. I'm keeping calm for now, but if I don't start waxing by December 1, it will be a struggle to complete these in time.

I'll try to keep you posted on how things progress. When the doors arrive, they will need to be sawed down to size, and edges filled. This process typically takes about 3-days, depending on availability of my husband to help with the manual labor.

Have a great thanksgiving.

Friday, November 12, 2010

Spring in November

"Unleashed" 36 x 42 oil and photoencaustic

"Tewzday" 24 x 39 oil and photoencaustic


"in a dawn" 24 x 24, oil and photoencaustic

It may be cold and stormy outside, but it still feels like spring in the studio. My goal is to paint at least four new works a month until my April solo show at Patricia Rovzar Gallery. In addition, I have a large (30 x 100) commission to complete by mid-January. The activity will keep me warm!

Saturday, August 21, 2010

Home At Last

Upside Down Martini, 70" x 54" x 3"

Last week, I finally removed the painting from its shackles, filled the holes where the handles and eye bolts were screwed into the wood frame, stained and cleaned up the edges and sides. I decided to leave the painting flat on the work bench until delivery, to protect it from potential damage. The finished piece weighed in at about 60lbs.

Patricia Rovzar Gallery brought their van to transport the work to the customer. I covered the surface with glassine paper, and made some corners out of corrugated board for protection. We decided not to bubble wrap the piece, because the fit in the van was going to be tight. Two of us were able to lift and carry the work to the van. Thankfully, it wasnt that difficult.

"Upside Down Martini" now lives in its new home. The client loves it, and I'm a happy artist.

Tomorrow I'll add a post to explain the name, and talk about how completing this painting is taking me on a new conceptual journey with my work.

Sunday, July 18, 2010

All Hung Up

The wall structure for holding the large panel in a vertical position was complete a couple of weeks ago. I was so anxious to get started with the paint application that I neglected to post my final entry about the construction project until today.
The image above shows how the panel rests on the steel and wood brackets. These brackets are bolted to channels, which in turn are bolted to the wall. I can slide the brackets up or down the channel to adjust the height of the painting.

I've intentionally blacked-out the painting because I don't want anyone to peek at the work in progress before it's completed and presented to the client. But you can see in this picture the full wall unit. A great additional purchase was a rolling scaffold with locking wheels. I can use it both for standing on to reach the higher areas of the work, and as a work table for my wax palettes.

One of the characteristics of the wax medium is how the color and textures seem to change with the light. So I was excited to discover a bonus to this new block and tackle setup. I can move the painting from the wall to another part of the room, along the ceiling (as shown in the previous entries), allowing me to view the work from greater distances, and under different lighting conditions.

The painting is really moving along nicely. I have about two more weeks of painting, and then I'll be finalizing the surface and finishing the edges. It delivers in mid-August, so stay-tuned for the posting of the finished painting.

Sunday, June 27, 2010

Block and Tackle

The unistrut channels are now bolted into the ceiling and onto the walls, and the block and tackle is set up and ready to roll. It took a bit of work to figure out the best method to lift and move the panel, but luckily our friend Commodore David Anson of New Zealand was in town. Barry immediately put our navy boy to work. He set about designing a S.O.P. (Standard Operating Procedure). I'm very comfortable with lifting and moving the panel with very little effort.

The first photo above shows how the roller piece fits into the ceiling channel. Attached to the roller is the upper end of the block and tackle. The lower photo shows the second piece which is hooked onto a bolt screwed into the top of the panel. The blocks are called 'fiddlehead blocks'. One of the blocks would have a cam cleat. Typical brands would be Harken, Lewmar or Ronstan. You can find them at a Marine supply store.

This is me taking the panel for a walk across the studio. The commodore is enjoying a much-deserved beer. You can't see the hardware because the beam is in the way, but the line that I'm holding is attached to the block and tackle, and with a little bit of pressure, I am able to push the panel, allowing it to glide across the ceiling. We've attached handles to the sides of the panel so that when the wax and paint is applied I won't be touching the surface of the painting.

Commodore David demonstrates how to carefully lower the panel onto the horizontal work surface. The first few times we tried this, I was nervous and held my hand out to ensure the panel didn't fall too heavily. But now, I can raise and lower the panel without touching it. The locking mechanism and the cleat attached to the wall gives me the right leverage to ensure a safe and gentle landing.
I'm not sure if I'm raising or lowering the panel in this shot, but it's a good angle to see the lower mechanism attached to the door, and the upper in the ceiling channel. The line I'm holding wraps around a cleat attached to the beam above. This gives me better leverage for pulling the line to raise or lower the panel. My husband designed a special extension tool to make it easier for me to lock and unlock the line from the upper mechanism. (I'll post a photo of this in my next update). When unlocked, the panel can travel across the ceiling channel, and when locked, the panel is secure, allowing me to slowly let the line out to raise or lower the panel.

I still need to show you the wall unit that holds the panel vertically. We had to order some stronger brackets, so the vertical unit isn't functional yet. I'll post an update when its ready.

In the meantime, the panel is on the workbench, I've prepared the surface and am getting ready to apply my first layers of clear wax.